

Good illumination is what supports excellent photography. No matter how high-tech your camera is, poorly lit photos can appear flat, lifeless, or uneven. For a newbie, mastering light is usually more crucial than dealing with complex camera settings.
This guide explains 10 simple lighting methods suitable for beginners that will make photos not only brighter but also of better quality. These concepts revolve around practicable habits that one can immediately put into use, whether the person is an indoor, outdoor, or on-the-go shooter.
When these methods are consistently practiced, they create a natural photography glow effect without the need for costly gear. Let’s watch out!
Among the various light sources, window light is considered one of the most accessible and safe for newbies. The illumination it offers is usually soft, which is flattering for any kind of subject, especially people. Thus, you should place your subject close to a window and allow the light to come from the side instead of directly illuminating it.
By simply employing natural light principles such as shooting in the morning or late afternoon, one can avoid harsh shadows. Window light is also good for mastering lighting skills since it varies throughout the day, thereby giving lessons on how light source changes affect mood and depth.
Most of the time, shooting under direct strong midday sun brings about whitening of the overexposed areas and very dark shadows. It is suggested that beginners find a pack of trees or a building in which they can place themselves, rather than trying to fight with the direct sunlight. The shade created by the houses or the trees has softer light as compared to the sun, but it still keeps the environment bright.
Such natural light tips assist in brightness balancing and in lowering the contrast between lights and shadows. The skill of knowing when you should not shoot is as important as the ability to tell the right time for shooting, and it also enhances your overall knowledge of lighting techniques.
Starting with the mistake of utilizing several light sources at a time, a person can easily become frustrated and puzzled with the inconsistent colors and eventually give up altogether. If a mixture of warm and cool lights is used, it usually results in an unrealistic tone of the scene. Therefore, holding to one main light source will not only make your work easy but also your results will be more viable.
It does not matter whether the source of light is the sun or a lamp; concentrating on only one source lets you realize the places where the shadows appear and where the brightness spreads. This practice boosts your creative power and at the same time racks up your energy.
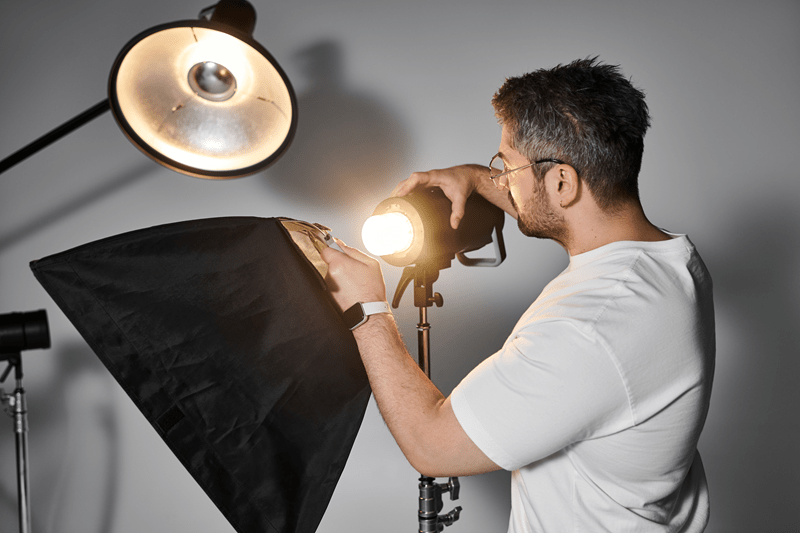
Situated close to the source, direct light can be overpowering, especially in an indoor environment. A very good method is to reflect light off walls or ceilings. In this way, the light is spread over a large area, and the harsh edges are minimized, giving a more gentle effect.
Reflected light is also accompanied by artificial sources such as a table lamp or an LED light panel. It is the simplest method for beginners who want to achieve smooth, natural-like shots without having to purchase additional equipment to attain this effect.
Flat light is the result of having a light source that comes directly from the front, therefore, hitting the subject. In order to get more depth, you should move your light a bit to the side. The side lighting makes the photos texturize and acquire depth due to the fact that it highlights the surfaces and thus creates the three-dimensional effect.
This method is applicable to both sun and artificial sources of light. When paired with precise exposure tips, directional lighting can highlight the main focus of your photo without making the rest of the image look too dark.
Soft light of a kind that is flattering and not very bright is the eye of the user and is very popular among artists. Lately, soft light has been used in simple works by putting a curtain in front of the window, covering the lamp with a lampshade, or increasing the distance between the light and the object to be lit.
These soft light tricks not only eliminate the deep shadows, but they also help the light and dark sides to smooth each other. Soft light is the main factor behind the clean photography glow, especially when the subject is a person or a close-up shot.
The direction of the light determines the extent to which a photo can be sad or happy. A photo lit from the front looks bright and clear, a side-lit photo is more dramatic, and a backlit photo is usually in the form of silhouettes or with glowing outlines. Thus, each direction gives a different message.
It is very important for a beginner photographer to learn how to control the direction of the light. If you combine exposure with direction, you can turn the most ordinary scenes into very interesting and beautiful pictures.
Exposure is the main factor that decides whether a picture is bright or dark. Beginners are mostly on fully automatic mode, and this is why they rely on the camera to make all the decisions, but at the same time, they learn a few simple exposure tips that help them to be safe from situations when the photo is too bright or too dark.
Minor exposure changes can not only keep the details of the pictured objects but also make the whole picture look more balanced. You cannot forget these exposure tips because they become an integral part of your work when you are aware of the unpredictable behavior of light in your photo shooting place, which saves your time in the post-production phase.
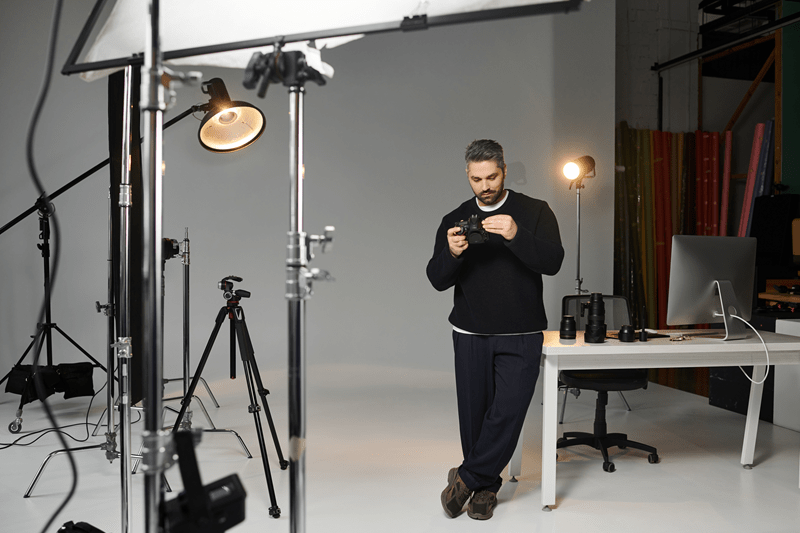
There is undoubtedly a good quantity of light coming from the sun, but only sometimes. Most of the time, indoor shoots or evening photography have to do with artificial lighting. A few simple items like desk lamps, LED lights, or ring lights are perfect for beginners.
With the help of artificial lighting, you have no time limitation on shooting, and the outcomes will be consistent. However, with a proper installation and some softening, this light can be naturally integrated into your scene without disturbing it and can be seen as a part of your overall lighting technique.
Constant observation of light is the best tool to improve one’s skills in lighting. Try to notice how the sun rays come into the room, how shadows fall on the faces, and how the brightness changes during the day.
With this daily routine, you will soon be able to perform natural light tips, soft lighting tricks, and exposure tips without even realizing it. The clarity, balance, and natural glow of your images will become increasingly clearer over time through a minimal amount of effort.
Maximizing the use of light in your photography does not depend on carrying around bulky or exotic equipment. These 10 ideas reflect the user’s practical knowledge of lighting, which is easy to execute in daily situations.
With time and constant observation, lighting will be less of a problem and more of a creative asset that shapes your photography style.
Newbies have a great opportunity for a simple and user-friendly setup using a window light to create great photographs by using a simple reflector.
Yes! When artificial lights are placed correctly and the light is diffused, the resulting light can appear quite natural and balanced.
One may reduce harsh shadows in photos by using diffusers, bouncing light from walls, and applying soft lighting techniques that are aimed at evenly distributing light.
One should check the light direction and exposure balance. Slight changes in angle or brightness are usually enough to get rid of the problem of flat-looking images.
This content was created by AI